Let’s Talk Landscape Photography
Why I Love Landscape Photography
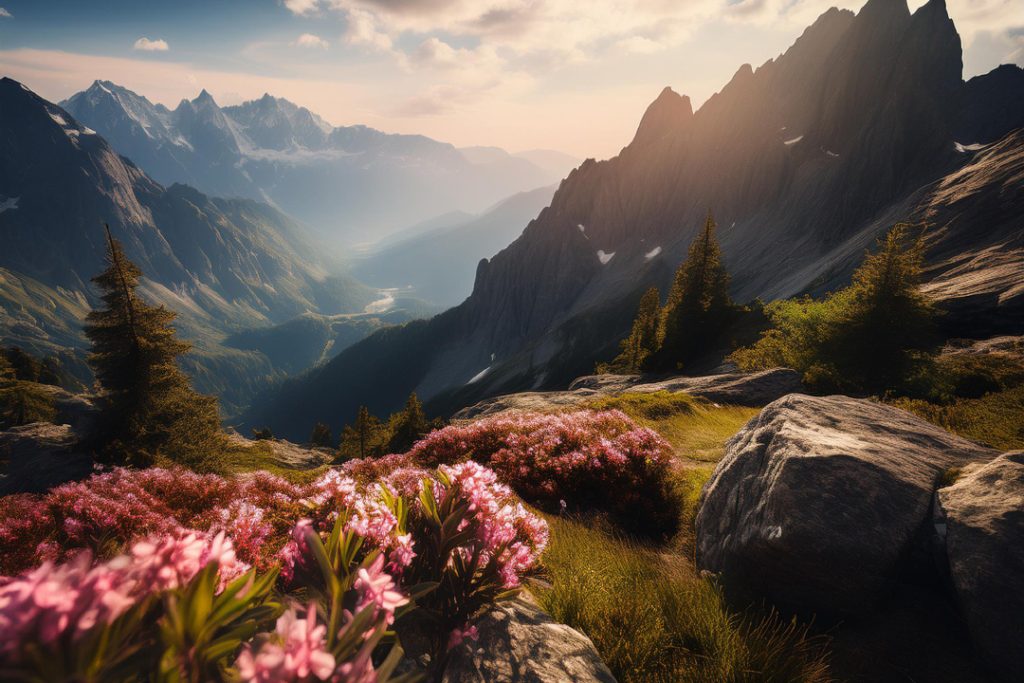
Ever since I grabbed my first camera, I’ve been hooked on the beauty of nature. There’s something magical about capturing the vastness of a stunning landscape. Whether it’s the towering mountains, calm lakes, or endless fields, every scene has its own story. Landscape photography lets me freeze these moments and share my love for nature with others. The excitement of finding new spots and the challenge of capturing them in the perfect light keeps me going.
Basics of Landscape Photography
If you’re just starting out, getting the basics down is key. Landscape photography is all about capturing the beauty of the natural world. Here are some foundational tips to get you rolling:
- Camera Settings:
- Aperture: Use a smaller aperture (higher f-number) to get a greater depth of field. This keeps both the foreground and background sharp.
- Shutter Speed: Adjust the shutter speed based on the lighting. Longer shutter speeds can create cool motion blur in water and clouds.
- ISO: Keep ISO low to reduce noise and maintain image quality.
- Composition Techniques:
- Rule of Thirds: Imagine your image divided into nine equal parts by two horizontal and two vertical lines. Place key elements along these lines or at their intersections.
- Leading Lines: Use natural lines in the scene, like rivers or roads, to guide the viewer’s eye through the image.
- Framing: Use natural frames, like trees or archways, to focus attention on the main subject.
- Lighting Tips:
- Golden Hour: The hour after sunrise and the hour before sunset offer soft, warm light that enhances the beauty of landscapes.
- Avoid Harsh Light: Midday sun can create harsh shadows and high contrast. Aim for early morning or late afternoon shoots.
- Embrace Weather: Cloudy or stormy weather can add drama and mood to your shots.
For more in-depth tips, check out our section on nature photography composition tips.
- Essential Gear:
- Cameras and Lenses: A good DSLR or mirrorless camera with a wide-angle lens is ideal for capturing expansive scenes.
- Tripods: Stabilize your camera, especially for long exposures, to ensure sharp images.
- Filters: Use polarizing filters to reduce reflections and enhance colors.
- Post-Processing:
- Software: Adobe Lightroom and Photoshop are popular choices for editing landscape photos.
- Enhancing Colors: Adjust saturation and vibrance to make your images pop.
- Cropping: Improve composition by cropping unnecessary elements.
For more advanced techniques, visit our guide on advanced nature photography techniques.
By mastering these basics, you’ll be well on your way to capturing breathtaking landscapes that ignite your passion for photography.
Must-Have Gear for Landscape Photography
Starting out in landscape photography? The right gear can make all the difference between a good shot and a jaw-dropping one.
Cameras and Lenses
Your camera is your best buddy in this adventure. For landscape shots, I lean towards cameras with high resolution and a good dynamic range. These features help capture all those tiny details and vibrant colors that make nature so stunning. Lenses are just as crucial. Wide-angle lenses are perfect for those sweeping vistas, while telephoto lenses are great for zooming in on specific parts of the scene.
| Camera Type | Resolution (MP) | Dynamic Range (Stops) |
|---|---|---|
| DSLR | 24 – 50 | 12 – 15 |
| Mirrorless | 24 – 60 | 12 – 15 |
| Lens Type | Focal Length (mm) | Aperture Range |
|---|---|---|
| Wide-angle | 10 – 35 | f/2.8 – f/4 |
| Telephoto | 70 – 300 | f/2.8 – f/5.6 |
Tripods and Filters
Stability is a big deal in landscape photography. A solid tripod keeps your camera steady, especially for those long exposure shots. This is super important for getting sharp images even when the light is low. Filters are another must-have. ND filters let you use slower shutter speeds to create cool effects like motion blur in clouds or water. Polarizing filters cut down on reflections and make colors pop.
| Tripod Feature | Importance |
|---|---|
| Stability | High |
| Portability | Medium |
| Height Adjustability | High |
| Filter Type | Purpose |
|---|---|
| Neutral Density (ND) | Reducing light, long exposures |
| Polarizing | Reducing reflections, enhancing colors |
Accessories for Better Results
Beyond the basics, a few extra accessories can really up your game. A remote shutter release helps avoid camera shake during long exposures. Extra batteries and memory cards are lifesavers for long shoots. And a good camera bag keeps all your gear organized and safe.
| Accessory | Purpose |
|---|---|
| Remote Shutter Release | Avoiding camera shake |
| Extra Batteries | Extended shooting time |
| Memory Cards | Additional storage |
| Camera Bag | Organizing and protecting gear |
Having the right gear is key to capturing amazing landscapes. For more tips on improving your nature photography, check out our articles on nature photography composition tips and advanced nature photography techniques. With the right equipment and a bit of practice, anyone can capture the beauty of the natural world!
Snap Stunning Landscape Photos with These Simple Tricks
Taking jaw-dropping landscape photos isn’t rocket science. It’s all about nailing a few key tricks that make your shots pop and tell a story.
Rule of Thirds
One of the first tricks I picked up is the Rule of Thirds. Imagine your photo split into nine equal parts with two horizontal and two vertical lines. Placing the main bits of your scene along these lines or where they cross makes your photo look balanced and interesting.
Quick Comparison
| Element Placement | Visual Impact |
|---|---|
| Center | Boring, flat |
| Rule of Thirds Line | Balanced, lively |
Leading Lines
Leading lines are like arrows guiding your eyes through the photo. Think paths, rivers, or even shadows that point towards the main subject. This trick adds depth and makes your photo feel like a journey.
Leading Line Ideas
- Paths
- Rivers
- Roads
- Fences
Want more tips on leading lines? Check out our nature photography composition tips.
Framing and Foreground Interest
Framing uses stuff in the scene to create a “frame” around your subject. Trees, arches, or shadows can do the trick. It adds depth and makes it feel like you’re peeking into a special moment.
Foreground interest means putting something cool in the front of your landscape. A flower, rock, or anything that adds scale and depth works wonders.
Quick Comparison
| Technique | Effect |
|---|---|
| Framing | Adds depth, focuses attention |
| Foreground Interest | Adds depth, creates scale |
Master these tricks, and your landscape photos will go from “meh” to “wow!” For more advanced tips, swing by our advanced nature photography techniques.
Lighting Tips for Captivating Landscapes
Golden Hour Magic
Alright, let’s talk about the golden hour—my absolute favorite time for snapping landscape photos. This magical window happens just after sunrise and right before sunset. The light is soft, warm, and diffused, casting long shadows and giving everything a gorgeous glow. It’s like nature’s Instagram filter.
| Time of Day | Quality of Light |
|---|---|
| Sunrise | Soft, warm, diffused |
| Morning | Harsh, bright |
| Noon | Harsh, overhead |
| Golden Hour (Sunset) | Soft, warm, diffused |
Shooting during the golden hour helps you capture vibrant colors and intricate details that harsh light would wash out. It’s my go-to for dreamy, ethereal landscapes. For more on how to nail your composition during these times, check out nature photography composition tips.
Dealing with Harsh Light
Midday sun can be a real pain. The light is harsh, shadows are strong, and contrast is high. But don’t worry, you can still get stunning shots.
One trick I swear by is using a polarizing filter. It cuts down on glare and makes the sky and foliage pop. Another tip is to find some shade or wait for clouds to soften the sunlight.
| Time of Day | Quality of Light |
|---|---|
| Noon | Harsh, overhead |
| Afternoon | Softening light |
| Golden Hour (Sunset) | Soft, warm, diffused |
Mastering harsh light means you can capture breathtaking landscapes anytime. For more advanced tips, check out advanced nature photography techniques.
Embracing Moody Weather
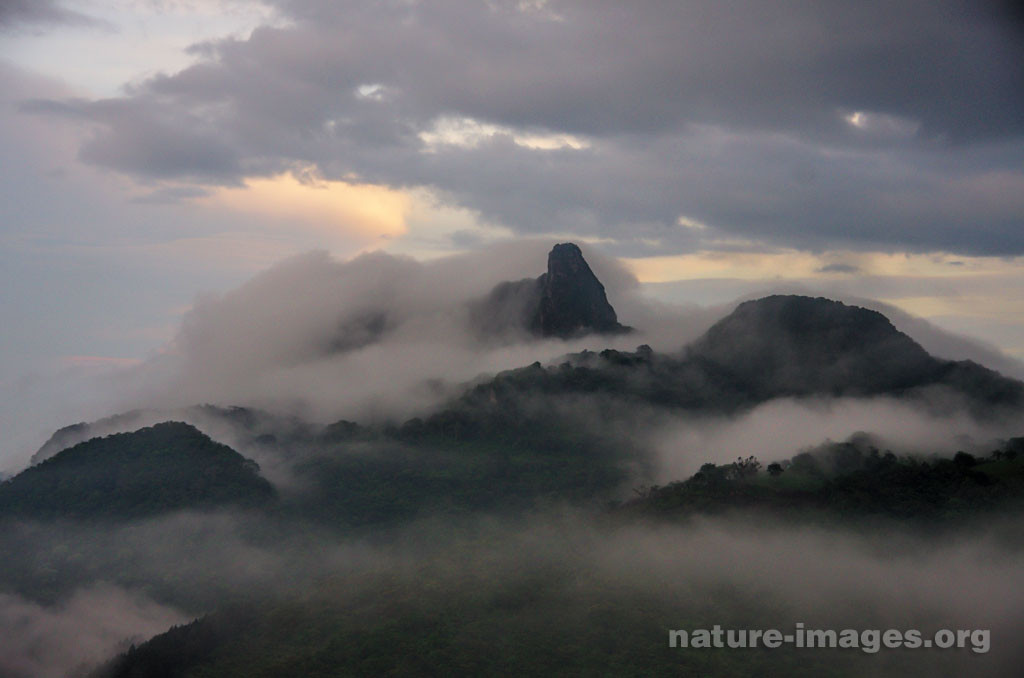
I love shooting in moody weather—overcast skies, fog, and rain add drama and mystery to your photos. Overcast skies give you soft, even light, perfect for capturing details without harsh shadows.
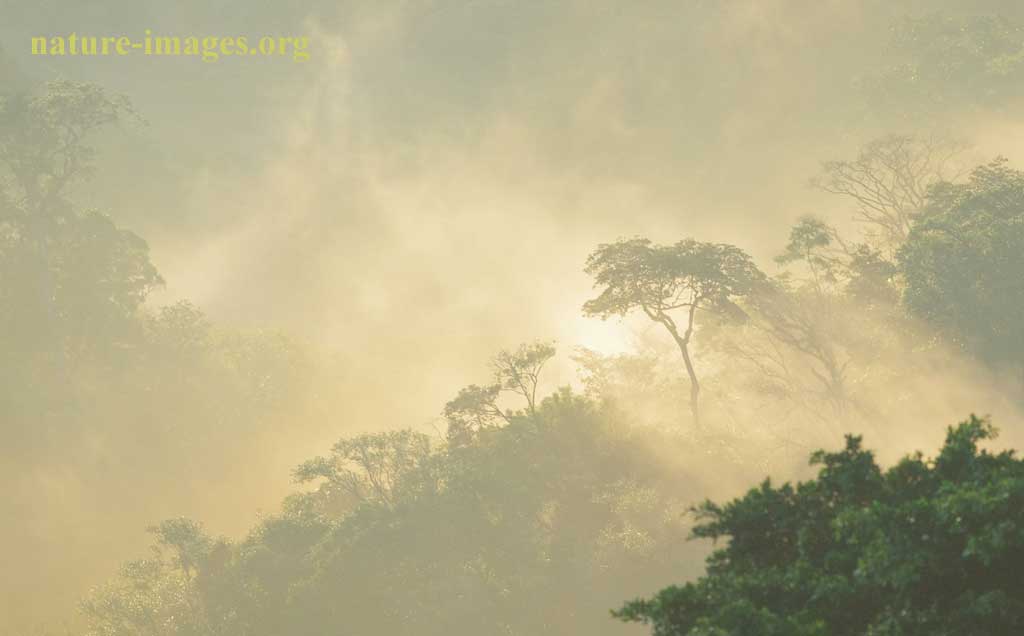
Fog adds depth and layers, making your images more intriguing. Rain can boost color saturation and create reflective surfaces, like wet rocks or leaves, adding to the scene’s mood.
| Weather Condition | Effect on Landscape |
|---|---|
| Overcast | Soft, even light |
| Fog | Adds depth, mystery |
| Rain | Enhances color saturation |
Don’t shy away from moody weather; use it to add a unique touch to your landscape photography. For more tips on capturing nature’s various moods, check out wildlife photography techniques.
By mastering these lighting tips, your landscape photography will reach new heights, capturing the beauty of the natural world in all its varied light and weather conditions.
Editing and Sprucing Up Landscape Shots
Editing and post-processing are the magic wands of landscape photography. They let me turn good shots into jaw-droppers. Here’s how I roll with this part of the process.
Software Choices
Editing landscape shots? You need the right tools. The software you pick can make or break your final image. Here are some go-to options:
| Software | Cool Features |
|---|---|
| Lightroom | Presets, Batch editing, Non-destructive editing |
| Photoshop | Advanced retouching, Layers, Masks |
| Capture One | Detailed color editing, Tethering, High-quality RAW processing |
Each of these programs has its own bag of tricks. For more advanced stuff, check out advanced nature photography techniques.
Pumping Up Colors and Contrast
Making those colors pop and adding contrast is key to making your landscape photos stand out. Here’s my game plan:
- Adjust White Balance: Fixing the white balance can totally change the vibe of your photo.
- Boost Saturation and Vibrance: These tweaks make colors more lively without looking fake.
- Increase Contrast: This adds depth, making elements in the photo stand out.
| Setting | Adjustment |
|---|---|
| White Balance | Adjust to match natural tones |
| Saturation | +10 to +20 |
| Vibrance | +15 to +25 |
| Contrast | +10 to +15 |
Retouching and Cropping Tricks
Retouching and cropping are the final touches that polish your photo. Here’s how I do it:
- Remove Unwanted Stuff: Using the clone or healing tool, I get rid of any distracting objects.
- Crop for Composition: I often crop to improve composition, following the rule of thirds or other techniques.
- Sharpen and Detail: A bit of sharpening can make details pop.
For more tips on retouching and cropping, I also look into wildlife photography techniques for extra ideas.
Editing and post-processing can turn a decent landscape shot into a stunning masterpiece. With the right software and techniques, the sky’s the limit.
Please bookmark us now press ctrl+d and visit again soon for more fascinating nature images! Here some recommended links selected for you: The Best Books of the Month, Todays best Deals at Amazon, Best Sellers in Cell Phones & Accessories and last but not least the easy and great way to send a gift for the holidays: Amazon.com eGift Card (Instant Email or Text Delivery).
A selection of Nature images, wildlife, flora and landscape stock photos, to see many more images and to license our stock photos please see our complete collection of our wildlife, flora and landscape stock images here at Alamy.
Introducing our captivating photo book showcasing the mesmerizing flora and fauna of Panama! Dive into the vibrant world of biodiversity with stunning imagery capturing the essence of Panama’s natural wonders. From majestic birds to elusive wildlife and breathtaking landscapes, this book is a visual feast for nature enthusiasts.
Don’t miss your chance to own a piece of Panama’s natural heritage. Order your copy here at Amazon now and embark on a visual journey through the enchanting landscapes and fascinating wildlife of Panama!


