Mastering Advanced Nature Photography Techniques
My Journey into Advanced Nature Photography
My adventure into nature photography started with a simple love for the outdoors. I remember my first camera and the thrill of capturing a stunning sunset. But soon, I realized there was more to it than just pointing and clicking. I dove into nature photography tutorials and began experimenting with different techniques.
As I wandered through dense forests and relaxed by serene lakes, each place offered new challenges and opportunities. I became obsessed with the tiny details of wildlife, the magic of the golden hour, and the ever-changing scenes in nature. This passion drove me to sharpen my skills and explore advanced techniques.
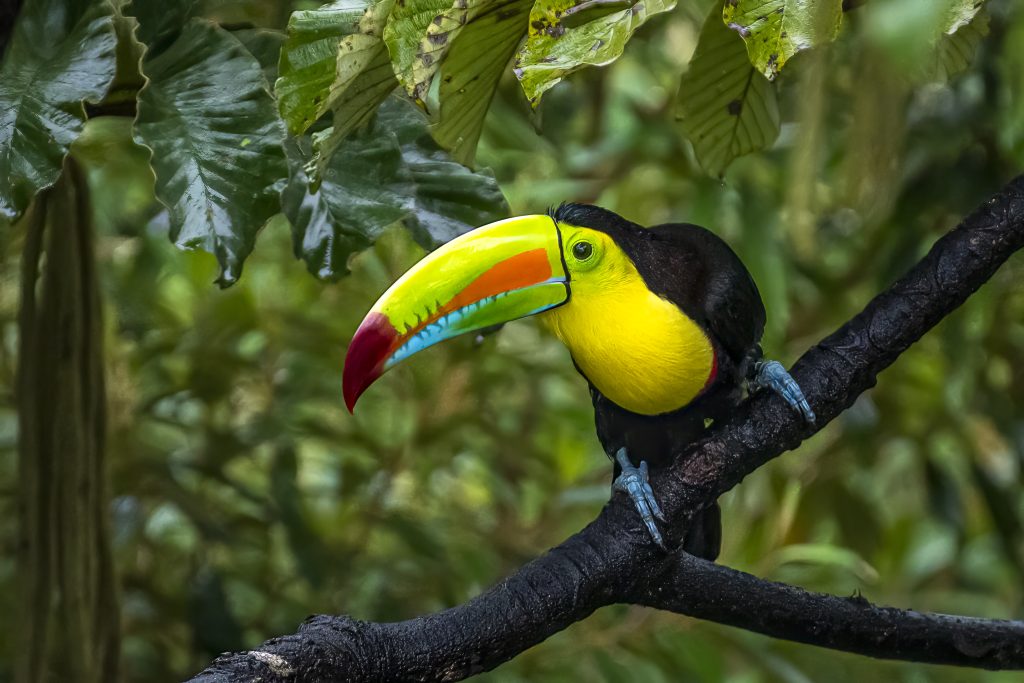
Keel-billed Toucan
The Need for Continuous Learning and Experimentation
In nature photography, you gotta keep learning and experimenting. Mastering advanced techniques means pushing your limits and trying new things. You need to stay updated with the latest trends and tools, always looking to get better.
Experimentation has been a huge part of my growth. Whether it’s playing with shadows and highlights or bending the rule of thirds, each experiment taught me something new. For example, learning the ins and outs of wildlife photography techniques helped me capture those rare moments of animals in their natural settings.
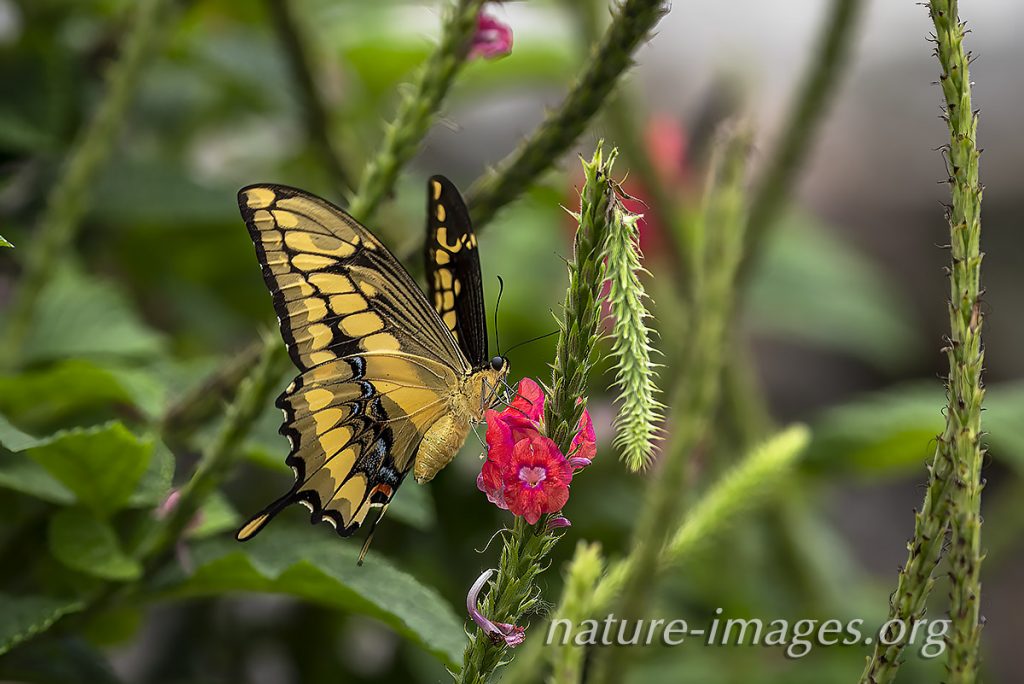
Giant Swallowtail Butterfly
Here are a few areas where learning and experimenting have been game-changers:
| Technique | What I Learned |
|---|---|
| Golden Hour Photography | Mastering light and color |
| Long Exposure Shots | Capturing movement |
| Aperture Control | Creating stunning depth of field |
Learning doesn’t just come from books or tutorials; it comes from real-world experiences. By closely watching nature and playing with different settings, I’ve found unique perspectives and compositions. This mindset has let me capture nature in ways I never imagined.
By sharing my journey and the importance of continuous learning, I hope to inspire other photographers to explore advanced techniques and push their creative limits. If you’re into composition, check out our article on nature photography composition tips for some great insights.
Understanding Light in Nature Photography
Light is the heart and soul of photography. Get it right, and your nature shots will pop. Let’s break it down into two juicy bits: the magic of the Golden Hour and the art of playing with shadows and highlights.
Golden Hour Magic
The Golden Hour, that sweet spot just after sunrise and before sunset, is like nature’s Instagram filter. It bathes everything in a soft, warm glow, turning everyday scenes into jaw-dropping masterpieces. I can’t tell you how many times I’ve waited eagerly for this time of day, camera in hand, ready to capture the magic.
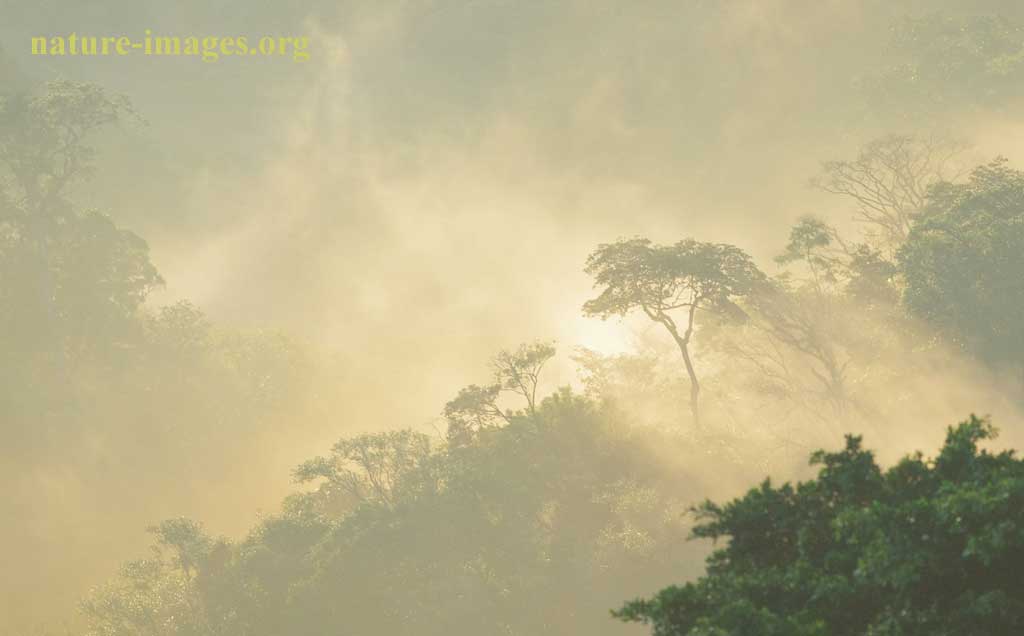
Cloud forest Morning Light
During the Golden Hour, the sun hangs low, casting long, dramatic shadows and painting everything in a golden hue. This light is way kinder than the harsh midday sun, which can blow out highlights and drown shadows. Here’s a quick cheat sheet:
| Time of Day | Light Quality | Shadow Length | Color Temperature |
|---|---|---|---|
| Golden Hour | Soft, warm | Long | Warm (golden) |
| Midday | Harsh, bright | Short | Neutral |
| Blue Hour | Cool, dim | Long | Cool (blue) |
To nail those Golden Hour shots, plan ahead. Get to your spot early, scout around, and set up your gear. Play with different angles and compositions to make the most of that dreamy light. For more tips, check out my article on landscape photography tutorials.
Playing with Shadows and Highlights
Beyond the Golden Hour, knowing how to mess with shadows and highlights can add some serious drama to your photos. Shadows can make your shots mysterious and deep, while highlights can spotlight the cool stuff.
When you’re out in the wild, watch how shadows and highlights dance around your subject. Use shadows to add texture and contrast, and highlights to make key features pop. Here are a few tricks I use:
- Backlighting: Put the light source behind your subject to create a silhouette, making the shape stand out.
- Side Lighting: Light your subject from the side to bring out textures and give a 3D feel.
- Fill Light: Use a reflector or another light source to fill in shadows and even out the exposure.
These tricks work wonders for both wildlife and landscapes. For more advanced tips, check out my article on wildlife photography techniques.
Mastering light, whether it’s the Golden Hour glow or the play of shadows and highlights, can take your nature photography to the next level. Keep experimenting and honing your skills to capture the beauty of the natural world.
Composition and Framing
When you want to level up your nature photography game, nailing composition and framing is key. Let’s dive into the rule of thirds with a twist and the magic of leading lines and symmetry.
Rule of Thirds Reimagined
The rule of thirds is a classic trick in photography. Picture your frame split into nine equal parts with two horizontal and two vertical lines. Placing important stuff along these lines or where they cross makes your photo pop. But hey, rules are meant to be bent, right?
Think of the rule of thirds as more of a friendly suggestion. Play around with it. In landscape shots, try putting the horizon higher or lower than the usual one-third line. This can make the sky look epic or bring out cool details in the foreground.
| Element Placement | Effect |
|---|---|
| Horizon on Lower Third | Emphasizes sky |
| Horizon on Upper Third | Highlights foreground |
| Subject on Intersection | Draws viewer’s eye |
By tweaking the rule of thirds, you can create more exciting and eye-catching photos. For more tips, check out my article on nature photography composition tips.
Leading Lines and Symmetry
Leading lines are like arrows in your photos, guiding the viewer’s eye. In nature, these lines can be anything from a winding river to a row of trees. They add depth and make your photos feel like a journey.
Symmetry, on the other hand, brings balance and harmony. Nature is full of symmetrical scenes, like reflections in water or mirrored patterns in landscapes.
| Technique | Example | Outcome |
|---|---|---|
| Leading Lines | River, Pathway | Guides the eye |
| Symmetry | Reflections, Patterns | Creates balance |
Mixing leading lines with symmetry can really make your photos stand out. Imagine a perfect reflection in a lake with a dock leading your eye into the scene. These tricks make your photos more interesting and visually pleasing.
Playing with these advanced composition techniques has changed how I shoot nature. For more on capturing amazing wildlife shots, visit my guide on wildlife photography techniques.
By rethinking the rule of thirds and using leading lines and symmetry, you can seriously up your nature photography game. Happy snapping!
Capturing Movement in Nature
Taking photos of nature in motion can be a real rush. It adds that extra zing to your pictures, making them pop. Let’s dive into some cool tricks to help you nail freezing and blurring motion, and create some epic shots with long exposures.

Collared Aracari in flight watched by others
Freeze or Blur? Your Call!
When you’re snapping pics of movement, you’ve got two main choices: freeze the action or blur it. Each brings its own vibe to the photo.
Freezing Motion: To freeze action, crank up that shutter speed. This is awesome for catching wildlife in the act, like birds mid-flight or deer sprinting through the woods. The trick is to set your camera to a high shutter speed, usually above 1/1000th of a second, depending on how fast your subject is moving.
| Subject | Recommended Shutter Speed |
|---|---|
| Birds in Flight | 1/2000s |
| Running Animals | 1/1000s |
| Water Droplets | 1/5000s |
Blurring Motion: Blurring adds a touch of artistry, showing the flow of time. Perfect for waterfalls, waves, or flowers swaying in the breeze. For this, go with a slower shutter speed, often below 1/30th of a second.
| Subject | Recommended Shutter Speed |
|---|---|
| Waterfalls | 1/15s |
| Ocean Waves | 1/8s |
| Flower Sway | 1/30s |
Playing around with these settings lets you decide if you want to freeze a moment or show movement in your nature shots.
Long Exposures: Making Magic
Long exposure photography can turn everyday scenes into jaw-dropping art. By using a slow shutter speed, you can capture the movement of clouds, water, or stars, creating a dreamy effect.
Long Exposure Tips:
- Use a Tripod: To keep things steady, a tripod is a must for long exposures.
- Remote Shutter Release: This helps avoid any tiny shakes when you press the shutter button.
- Neutral Density Filters: These filters cut down the light entering the lens, letting you go for longer exposures even in daylight.
Long Exposure Settings:
| Scene | Shutter Speed | Aperture | ISO |
|---|---|---|---|
| Waterfalls | 1-2s | f/8 | 100 |
| Night Sky | 20-30s | f/2.8 | 800 |
| Cloud Movement | 30-60s | f/11 | 100 |
Using these tricks, you can create photos that capture the essence of motion, whether it’s the calm flow of a river or the dramatic sweep of clouds. For more tips on capturing nature’s beauty, check out our landscape photography tutorials and wildlife photography techniques.
Mastering Depth of Field
Playing with depth of field in nature photography can make your pictures pop, adding that wow factor. Here’s how I’ve managed to get some jaw-dropping shots.

Aperture Control for Stunning Effects
Aperture control is your best friend when it comes to depth of field. Adjusting the aperture on your camera lets you decide how much of the scene stays in focus. A wider aperture (small f-number) gives you a shallow depth of field, making your subject crisp while the background gets all dreamy and blurred. On the flip side, a narrower aperture (big f-number) keeps more of the scene sharp and clear.
Check out this table to see how different aperture settings change the depth of field:
| Aperture (f-stop) | Depth of Field | Effect |
|---|---|---|
| f/2.8 | Shallow | Subject pops, background blurs |
| f/5.6 | Moderate | Nice balance between subject and background |
| f/11 | Deep | Whole scene in focus |
| f/16 | Very Deep | Everything from front to back is sharp |
Playing around with these settings can help you nail the look you’re going for in your nature shots. For more tips on capturing breathtaking landscapes, head over to our landscape photography tutorials.
Foreground, Middleground, Background
Knowing how to use the foreground, middleground, and background can really spice up your photos.
- Foreground: Adding something interesting in the foreground can draw the viewer’s eye into the scene. Think rocks, flowers, or water.
- Middleground: This is usually where your main subject hangs out. Placing your subject here makes it stand out while still showing off the surroundings.
- Background: The background sets the scene and adds context. It could be mountains, trees, or a sunset.
When you’re setting up your shot, try to include cool elements in each of these areas to make your photo more dynamic. For instance, in a landscape shot, you might have a flower in the foreground, a tree in the middleground, and mountains in the background.
These tricks are super handy when you’re photographing wildlife or birds. Check out our wildlife photography techniques and bird photography tips and tricks for more. By mastering depth of field, you’ll be able to create photos that are not just pictures, but stories.
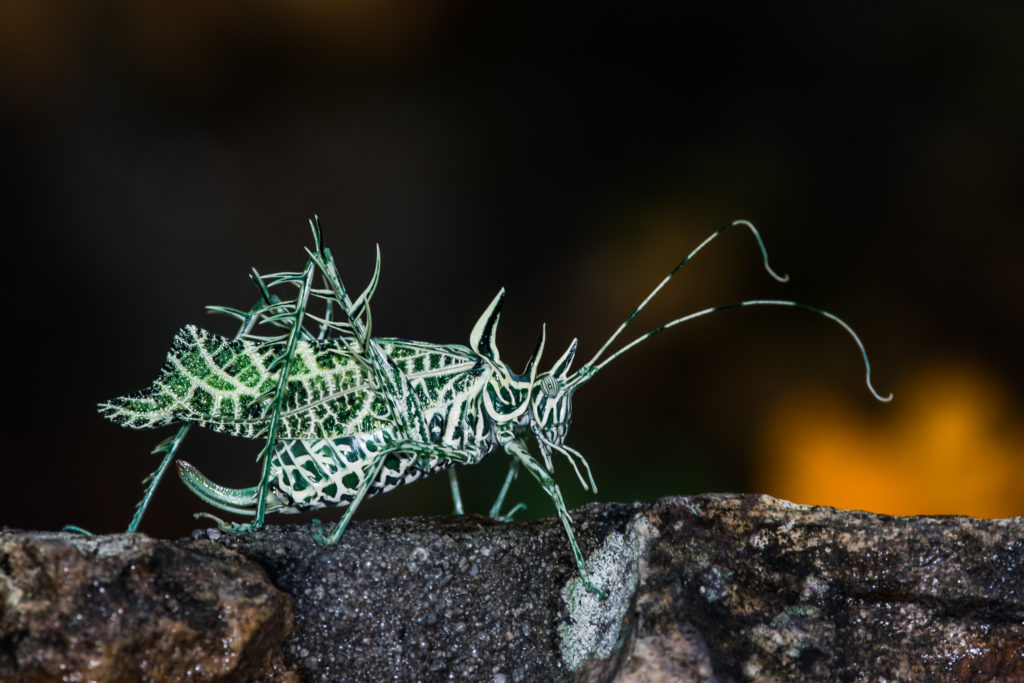
Markia hystrix image
Boost Your Nature Photography Game
Want to take your nature photography to the next level? Focus on two main areas: post-processing and playing around with different filters and lenses. These tricks can really make your photos pop and showcase your talent.
Post-Processing Magic
Post-processing is like the secret sauce for nature photography. It lets you tweak your photos to highlight the beauty of the natural world. Using software tools, you can adjust things like exposure, contrast, and colors to make your images stand out.
Here are some basic tweaks I often make:
| Adjustment | Why It Matters |
|---|---|
| Exposure | Fixes the brightness of the image |
| Contrast | Makes the light and dark areas pop |
| Saturation | Pumps up or tones down the colors |
| Sharpness | Brings out the details |
Mastering these adjustments can turn a good photo into a jaw-dropper. For more tips, check out our nature photography tutorials.
Playing with Filters and Lenses
Trying out different filters and lenses can add a unique flair to your nature shots. Filters help you control light and color, while lenses give you various perspectives and focal lengths.
Some go-to filters I use:
- Polarizing Filters: Cut down reflections and make colors richer.
- ND Filters: Let you take longer exposures even when it’s bright out.
- UV Filters: Protect your lens and reduce haze.
Lenses can totally change the vibe of your photos. Wide-angle lenses are great for capturing sweeping landscapes, while telephoto lenses are perfect for getting up close and personal with wildlife.
| Filter Type | When to Use It |
|---|---|
| Polarizing Filter | Makes skies look amazing and cuts glare |
| ND Filter | Perfect for slow shutter speeds |
| UV Filter | Protects your lens and cuts through haze |
By experimenting with these tools, you can find new ways to capture the beauty of nature. This constant exploration keeps your photography fresh and exciting. For more ideas, check out our nature photography composition tips.
Please bookmark us now press ctrl+d and visit again soon for more fascinating nature images! Here some recommended links selected for you: The Best Books of the Month, Todays best Deals at Amazon, Best Sellers in Cell Phones & Accessories and last but not least the easy and great way to send a gift for the holidays: Amazon.com eGift Card (Instant Email or Text Delivery).
A selection of Nature images, wildlife, flora and landscape stock photos, to see many more images and to license our stock photos please see our complete collection of our wildlife, flora and landscape stock images here at Alamy.
Introducing our captivating photo book showcasing the mesmerizing flora and fauna of Panama! Dive into the vibrant world of biodiversity with stunning imagery capturing the essence of Panama’s natural wonders. From majestic birds to elusive wildlife and breathtaking landscapes, this book is a visual feast for nature enthusiasts.
Don’t miss your chance to own a piece of Panama’s natural heritage. Order your copy here at Amazon now and embark on a visual journey through the enchanting landscapes and fascinating wildlife of Panama!